Maintaining a sterile laboratory environment is paramount to ensure accurate results and prevent contamination. One often overlooked aspect of lab hygiene is the proper cleaning of laboratory wash bottles. In this comprehensive guide, we'll delve into the step-by-step process of cleaning these essential tools, the materials you'll need, and the crucial importance of sanitizing before each use.
Section 1: The Significance of Clean Laboratory Wash Bottles
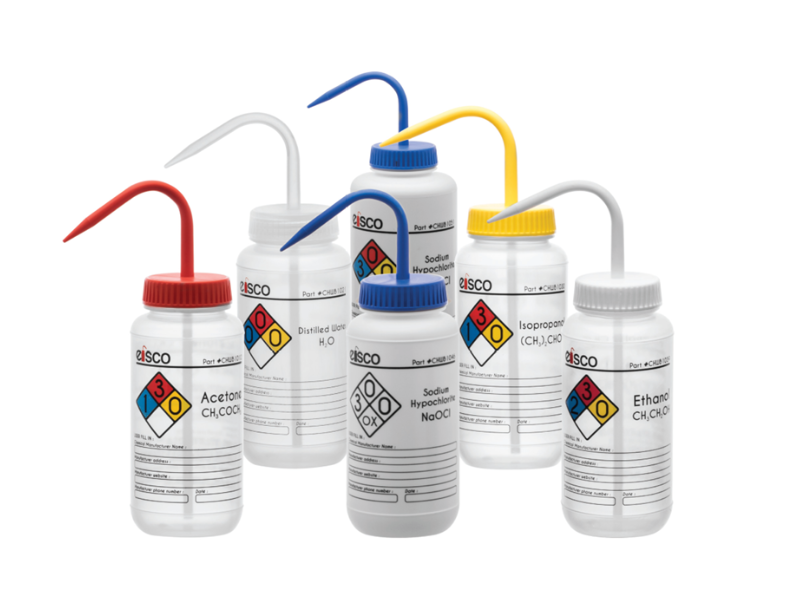
Laboratory wash bottles are crucial tools for clean and controlled experiments. Using contaminated bottles can lead to skewed results and harm researchers. To ensure the accuracy of scientific investigations and uphold safety standards, it's essential to regularly clean and sanitize wash bottles.
Section 2: Materials Needed for Cleaning Laboratory Wash Bottles
- Distilled water
- Mild laboratory detergent
- Bottle brush or dedicated lab brushes
- Isopropyl alcohol or another suitable disinfectant
- Autoclave (if applicable)
- Clean, lint-free towels or wipes
Proper cleaning and sanitization of laboratory wash bottles requires specific supplies and attention to detail. Safety precautions, such as wearing gloves and protective eyewear, should also be taken.

Section 3: Preparing for Cleaning
Proper preparation is crucial to ensure the effectiveness and safety of the laboratory wash bottle cleaning process. Before starting the cleaning procedure, it's essential to prepare the wash bottle meticulously. This involves thoroughly emptying any remaining contents within the bottle to prevent accidental mixing of cleaning agents with potentially hazardous substances. If the wash bottle has removable parts, disassembling it becomes necessary to guarantee a comprehensive cleaning of all components.
Additionally, researchers must prioritize their personal safety by wearing appropriate personal protective equipment (PPE), such as gloves and lab coats. The use of PPE acts as a crucial barrier against potential exposure to chemicals and contaminants, highlighting the importance of both the cleaning process's integrity and the researchers' well-being. By emphasizing these preparatory steps, a conscientious approach is developed, promoting a culture of responsibility and attentiveness in the laboratory environment.
Section 4: Pre-Rinse with Distilled Water
To start cleaning the wash bottle, rinse it with distilled water. Use plenty of water and focus on the nozzle and other intricate areas. This step is crucial to remove any remaining substances and prepare the wash bottle for further cleaning.
Section 5: Cleaning with Mild Detergent
Begin by applying a mild laboratory detergent to all surfaces of the wash bottle. Ensure thorough coverage by gently squeezing the bottle to distribute the detergent evenly. Pay special attention to the inner surfaces and crevices where contaminants may accumulate. Use a soft, lint-free cloth to wipe the exterior of the bottle as well. The goal is to create a soapy solution that effectively lifts and removes any residues or impurities from the surfaces of the wash bottle.
Section 6: Scrubbing with a Bottle Brush
Take the cleaning process a step further by employing a dedicated bottle brush. Insert the brush into the wash bottle, reaching all the way to the bottom and focusing on hard-to-reach areas. Employ a gentle but thorough scrubbing motion to dislodge any stubborn residues that may have adhered to the surfaces. Pay close attention to the nozzle or other intricate parts. The brush should be dedicated solely to this purpose to prevent cross-contamination.
Section 7: Sanitizing with Isopropyl Alcohol
To ensure the wash bottle is free from harmful microbes, proceed to sanitize it using isopropyl alcohol or another suitable disinfectant. Apply the disinfectant to all surfaces, including caps or nozzles, using a spray or by saturating a clean cloth and wiping the surfaces. Allow sufficient contact time as per the disinfectant's instructions to ensure effective sanitation. This step is critical for preventing the spread of contaminants in the laboratory environment.

Section 8: Autoclaving (If Applicable)
In laboratories where autoclaving is a standard sterilization method, follow the manufacturer's guidelines for wash bottles that can withstand autoclaving. Ensure that the bottles are properly sealed and positioned to withstand the autoclave's conditions. Autoclaving provides a thorough sterilization process, eliminating any remaining microorganisms and ensuring the wash bottle is ready for safe reuse.
Section 9: Air Drying and Reassembly
Conclude the cleaning process by allowing the wash bottle to air dry completely. Ensure that all components, including the interior and exterior surfaces, are thoroughly dry before proceeding with reassembly. Air drying is crucial to prevent the growth of microbes and bacteria in any residual moisture. Once dry, reassemble the wash bottle, ensuring all parts fit securely, and the bottle is ready for use in subsequent experiments. Following these steps guarantees a meticulously cleaned and sanitized laboratory wash bottle, promoting both accuracy in experiments and a safe laboratory environment.
By incorporating these practices into your laboratory routine, you not only uphold the standards of scientific inquiry but also contribute to a safer and more controlled research environment. Remember, the meticulous care of laboratory wash bottles is not just a protocol; it's a commitment to the accuracy, reliability, and ethical conduct of scientific exploration.