The summer is almost over, so be sure to beat both learning loss and boredom with these four at-home science experiments. With materials you already have on hand—or those easily found here at hBARSCI or Amazon!—you and your middle schoolers can enjoy some science-based fun over the last couple of weeks before diving back into the school year.
Create Your Own Smartphone Amplifier
Headed to the beach or to a picnic? You don’t need a fancy portable speaker to amplify music on your smartphone! Quickly put together this cardboard amplifier to take your phone’s music to the next level!
Supplies: cardboard tube, 2 plastic cups, scissors, cell phone with a speaker at the bottom
Steps:
Carefully cut a hole in the side of each plastic cup so the cardboard tube fits inside tightly.
Attach a cup to each end of the tube.
Double check to make sure the tube fits nicely; if there are gaps between the cups and the tube, use tape to cover them.
Cut a thin slit in the top of the cardboard tube just big enough to hold your phone.
Select some music on your phone and listen to the sound when the phone is in and out of the tube. It should sound louder when the phone is inside the tube.
Why does this work? When you put the phone inside the cardboard tube, the sound is directed down the tube toward the plastic cups and out. The cups focus the sound waves, pointing them in one direction so they don’t scatter.
.
Make an Electromagnet
With this setup, you can make an electromagnet out of a few simple supplies, taking an ordinary nail and making it magnetic—when the circuit is closed. This project is a great way to explore not only electrical circuits but also the connection between electricity and magnetism—while building something electrically functional with your bare hands!
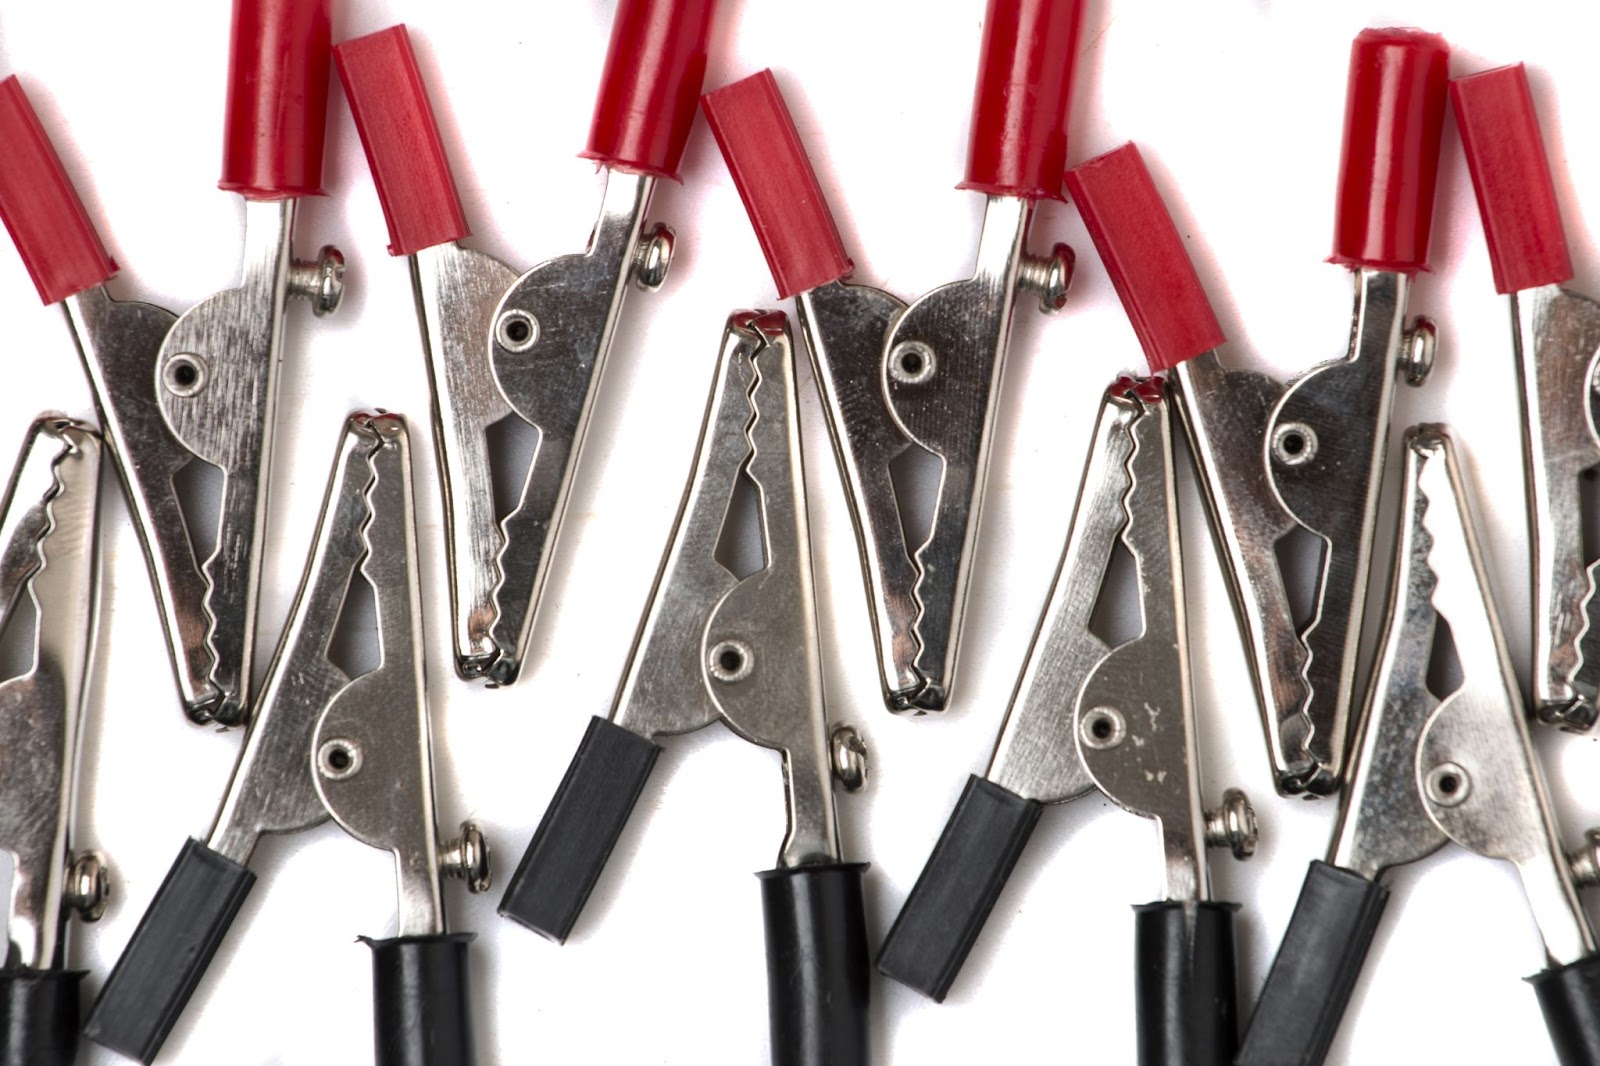
Supplies: a lantern battery* or two AA batteries, a long piece of insulated copper wire, wires with alligator clips, a large iron nail, paper clips, duct tape (optional)
Steps:
Strip a small amount of the plastic insulation off the copper wire on both ends.
Wrap the wire around the nail, leaving the stripped ends free.
Make a circuit by connecting one end of each of the wires with the alligator clips to the ends of the copper wire and the other end to the terminals of the battery.The alligator clips make it easy to connect and disconnect the wires, thus opening and closing the circuit.
Before connecting all the wires, try picking up paper clips with just the nail wrapped in wire. Then connect the circuit. Note: All connections must be secure. Test the strength of your electromagnet by trying to pick up a chain of paper clips! Be careful: The ends of the wires will get hot!
*Note that the lantern battery works well for this project because it stands up by itself and has wires to attach the alligator clips to. However, the project may be made safer by using two AA batteries. To do so, create a battery pack by taping a paper clip to the ends of the AA batteries. Make sure that the batteries are facing in opposite directions! Then use duct tape to tape the batteries together and to tape wires to the other ends of the batteries. One wire should touch each battery.
Turn Milk into Plastic
You’ll learn how to make plastic out of milk in this experiment that’s sure to both impress and disgust your middle-schooler! This simple milk-transforming experiment explores how plastics can be derived from a natural resource, such as milk. In fact, you might be surprised to learn that in the early-mid 1900s, milk plastic, usually called casein plastic, was commonly used to make many different plastic items.
Supplies: measuring cup, milk, stove-top oven and pan or a microwave and microwaveable container, mug or other heat-resistant cup, measuring spoons, white vinegar, paper towel, spoon
Steps:
Heat one cup of milk in a pan or on a stove top until it is steaming hot (adult supervision may be required here!).
Add four teaspoons of white vinegar to a mug or other heat-resistant cup.
Add the cup of hot milk to the mug. The milk will form white clumps called curds.
Mix the mug slowly with a spoon for a few seconds.
Stack four layers of paper towels on a hard surface that will not be damaged if it gets damp.
Once the milk and vinegar mixture has cooled a bit, use a spoon to scoop out the curds. Collect as many curds as you can and put them on top of the stack of paper towels.
Fold the edges of the paper towel stack over the curds and press down on them to absorb excess liquid. Use extra paper towels if needed to soak up the remaining moisture.
Knead all of the curds together into a ball, as if it were dough. What you have in your hands is casein plastic.
You can use the casein plastic to make something by coloring, shaping, or molding it and leaving it to dry on paper towels for at least 48 hours. Once it has dried, the casein plastic will be hard. Note: to shape the plastic, the dough must be thoroughly kneaded. Food coloring can be added to the wet casein plastic dough, and dried casein plastic can be painted or colored with markers
Questions to consider while performing the experiment: What happens when the milk and vinegar are mixed together? Why do you think this is? Why do you think the milk forms curds when it is added to the vinegar? What do you think they are made of? How do the kneaded curds feel and look different from the original ones?
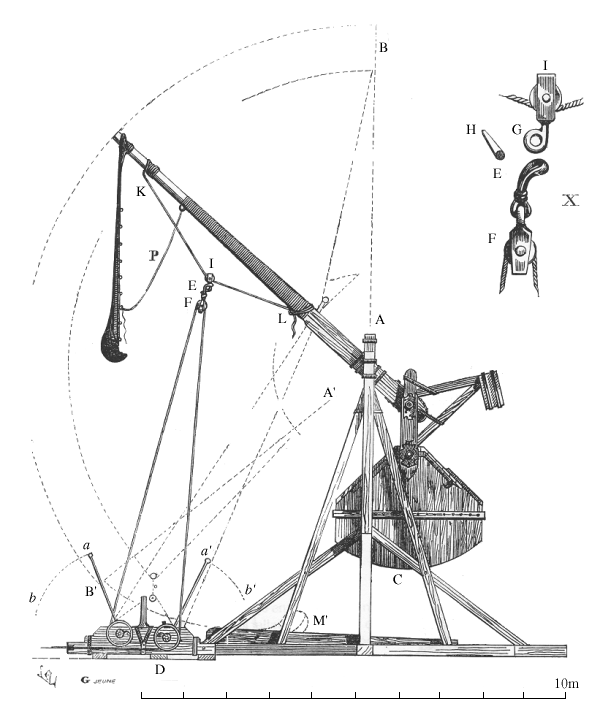
Build a Mini Trebuchet
A trebuchet is a type of catapult that uses a long arm to throw a projectile, and the design of a trebuchet allows it to launch projectiles of greater weights further distances than that of a traditional catapult. What are you waiting for? Using the simple materials below, help your middle-schooler build a mini version of the ancient weapon—and make sure they’re launching safely!
Construction note: Building a trebuchet involves making several engineering decisions as you go along. For example, you could decide to build the entire frame out of pencils instead of popsicle sticks and you can choose whether you want to use tape, glue, or rubber bands to secure the different joints.
Supplies: a 1-ft by 1-ft piece of corrugated cardboard, popsicle sticks, scissors, pencil, jumbo-sized straw, glue (hot glue is best if available), masking or duct tape, rubber bands, string, paper clip, AA battery
Steps:
Safety note: Never aim projectiles at people or animals.
Start out by building two side A-frame pieces. Take five popsicle sticks and cut one of them in half. Use two long pieces and one half-piece to form an “A,” but cross the long pieces slightly at the top to form a miniature "V" shape. This will leave a small notch for the pencil to rest in later. Glue them together and repeat with the other pieces.
Carefully cut slots in your piece of corrugated cardboard that will allow your A-frame pieces to stand up straight a few inches apart from each other. Stick the ends of the A-frame pieces into the slots. Reinforce the connections with glue, tape, and some extra popsicle stick pieces if necessary so they remain standing on their own.
Next, build the trebuchet's arm by carefully cutting two small notches on either side of a popsicle stick close to one end. The notches should be wide enough to slide in a piece of string. This will help hold your counterweight in place.
Attach a small loop of string to your AA battery using tape or rubber bands. Hang the battery from the notches in the popsicle stick. If necessary, make the notches deeper or secure the string with tape, glue, or rubber bands. Unbend one end of a paper clip so it is almost, but not quite, straight. Attach the remaining flat part of the paper clip to the other end of the popsicle stick, with the straightened part pointing outward and up (away from the counterweight). This will serve as a hook to hold the "sling," which in turn holds the projectile.
Remove the eraser from the pencil and attach it to a small loop of string. Hang the eraser from the paper clip hook.
Cut a small section of the straw, about one inch long. Attach this perpendicular to the popsicle stick arm using glue, rubber bands, or tape. The straw should be much closer to the counterweight than it is to the hook.
Slide the pencil into the straw.
Place the pencil into the two V notches on top of your A-frame pieces. Secure it in place with rubber bands. This forms a crossbar and completes your trebuchet's frame. Note: The straw and pencil form a pivot and should allow the arm to rotate. Don’t use glue for this step so you are able to remove the crossbar and swap out the arm to make changes. If any of the joints of your trebuchet seem weak, or if the frame wobbles significantly, reinforce joints with tape, glue, or rubber bands.
To test your trebuchet, use one hand to pull down on the eraser, which should raise the counterweight up in the air. Making sure no people, animals, or breakable objects are nearby, let go. Why do you think it is important in this design to have a counterweight? How does it help employ the idea of gravitational potential energy?
Looking for Something to Expand Your Collection of Science Supplies?
Look no further than our collection of physical science equipment, supplies, and kits over at the hBARSCI website!